When I first started out as a freelance designer, I really underestimated the power of defining a process and sticking to it. I’d oftentimes let my clients dictate how the show would be run, leading to projects that would go on for months with limitless revisions, and a whole lot of me questioning what in the heck I was doing wrong.
As time went by and I found myself continuously exhausted by what should have been simple, easy to complete projects, I started to do some research into how other, more successful designers were operating. I would see them turning around amazing work at a rate faster than I could ever imagine, and I finally saw the common thread: these people had a process. A process that they let run the show, a process that was proven to work, and a process that they could trust, without fail, on every single project that came across their desks.
I set out to do the same, and my business has not been the same since. Here’s a look at my process for a WordPress web design project, using an awesome recent client as a case study.
Step 1: Getting Acquainted
Thanks to the power of a little search engine optimization on my own website, the project manager at Cleveland, Ohio’s Renaissance Painting & Decorating found me in a Google search for local web designers. He reached out to see if we could set up a meeting, and in response I agreed, and asked him to fill out my web design questionnaire (link here) so I would have some information to prep beforehand. I love having clients fill out this simple questionnaire before meetings because it clues me into what they’re looking for ahead of time—the last thing I want to do is waste anyone’s time if the project is entirely beyond my scope of abilities—and I’ve found that it helps the client prepare, too. Ryan happily obliged, and I was able to go into our initial meeting equipped with confidence, a basic framework of their website needs, examples of sites they liked, their budget for the project, deadline for completion, and more.
Ryan and I met, along with the company’s owner, and we had a nice little kickoff meeting where we discussed exactly what they needed on the site content-wise, we talked a little bit about my design process, we took a look at some competitor sites, we dissected the websites they were looking at for inspiration, and we planned for the ideal site launch date.
Step 2: The Project Proposal
As we wrapped up our meeting, I promised Ryan that I would get a project proposal to him within the next couple of days, but I actually set out to put it together as soon as I arrived back at my desk—that way everything we had just talked about was still very fresh in my mind. In the proposal I included a detailed description of the project’s scope, a list of tentative dates and milestones, and a breakdown of the total cost.
Step 3: The Rules
Along with the project proposal, I also prepare and send over a contract with every project proposal I put together. This outlines things like payment terms, project closure clauses, copyright and ownership information, and termination clauses.
I sent the project proposal and contract over to Ryan for he and the company’s owner to review. They didn’t have any questions, so they signed off on the documents, submitted the project deposit, and we were ready to go!
Step 4: Gathering Content
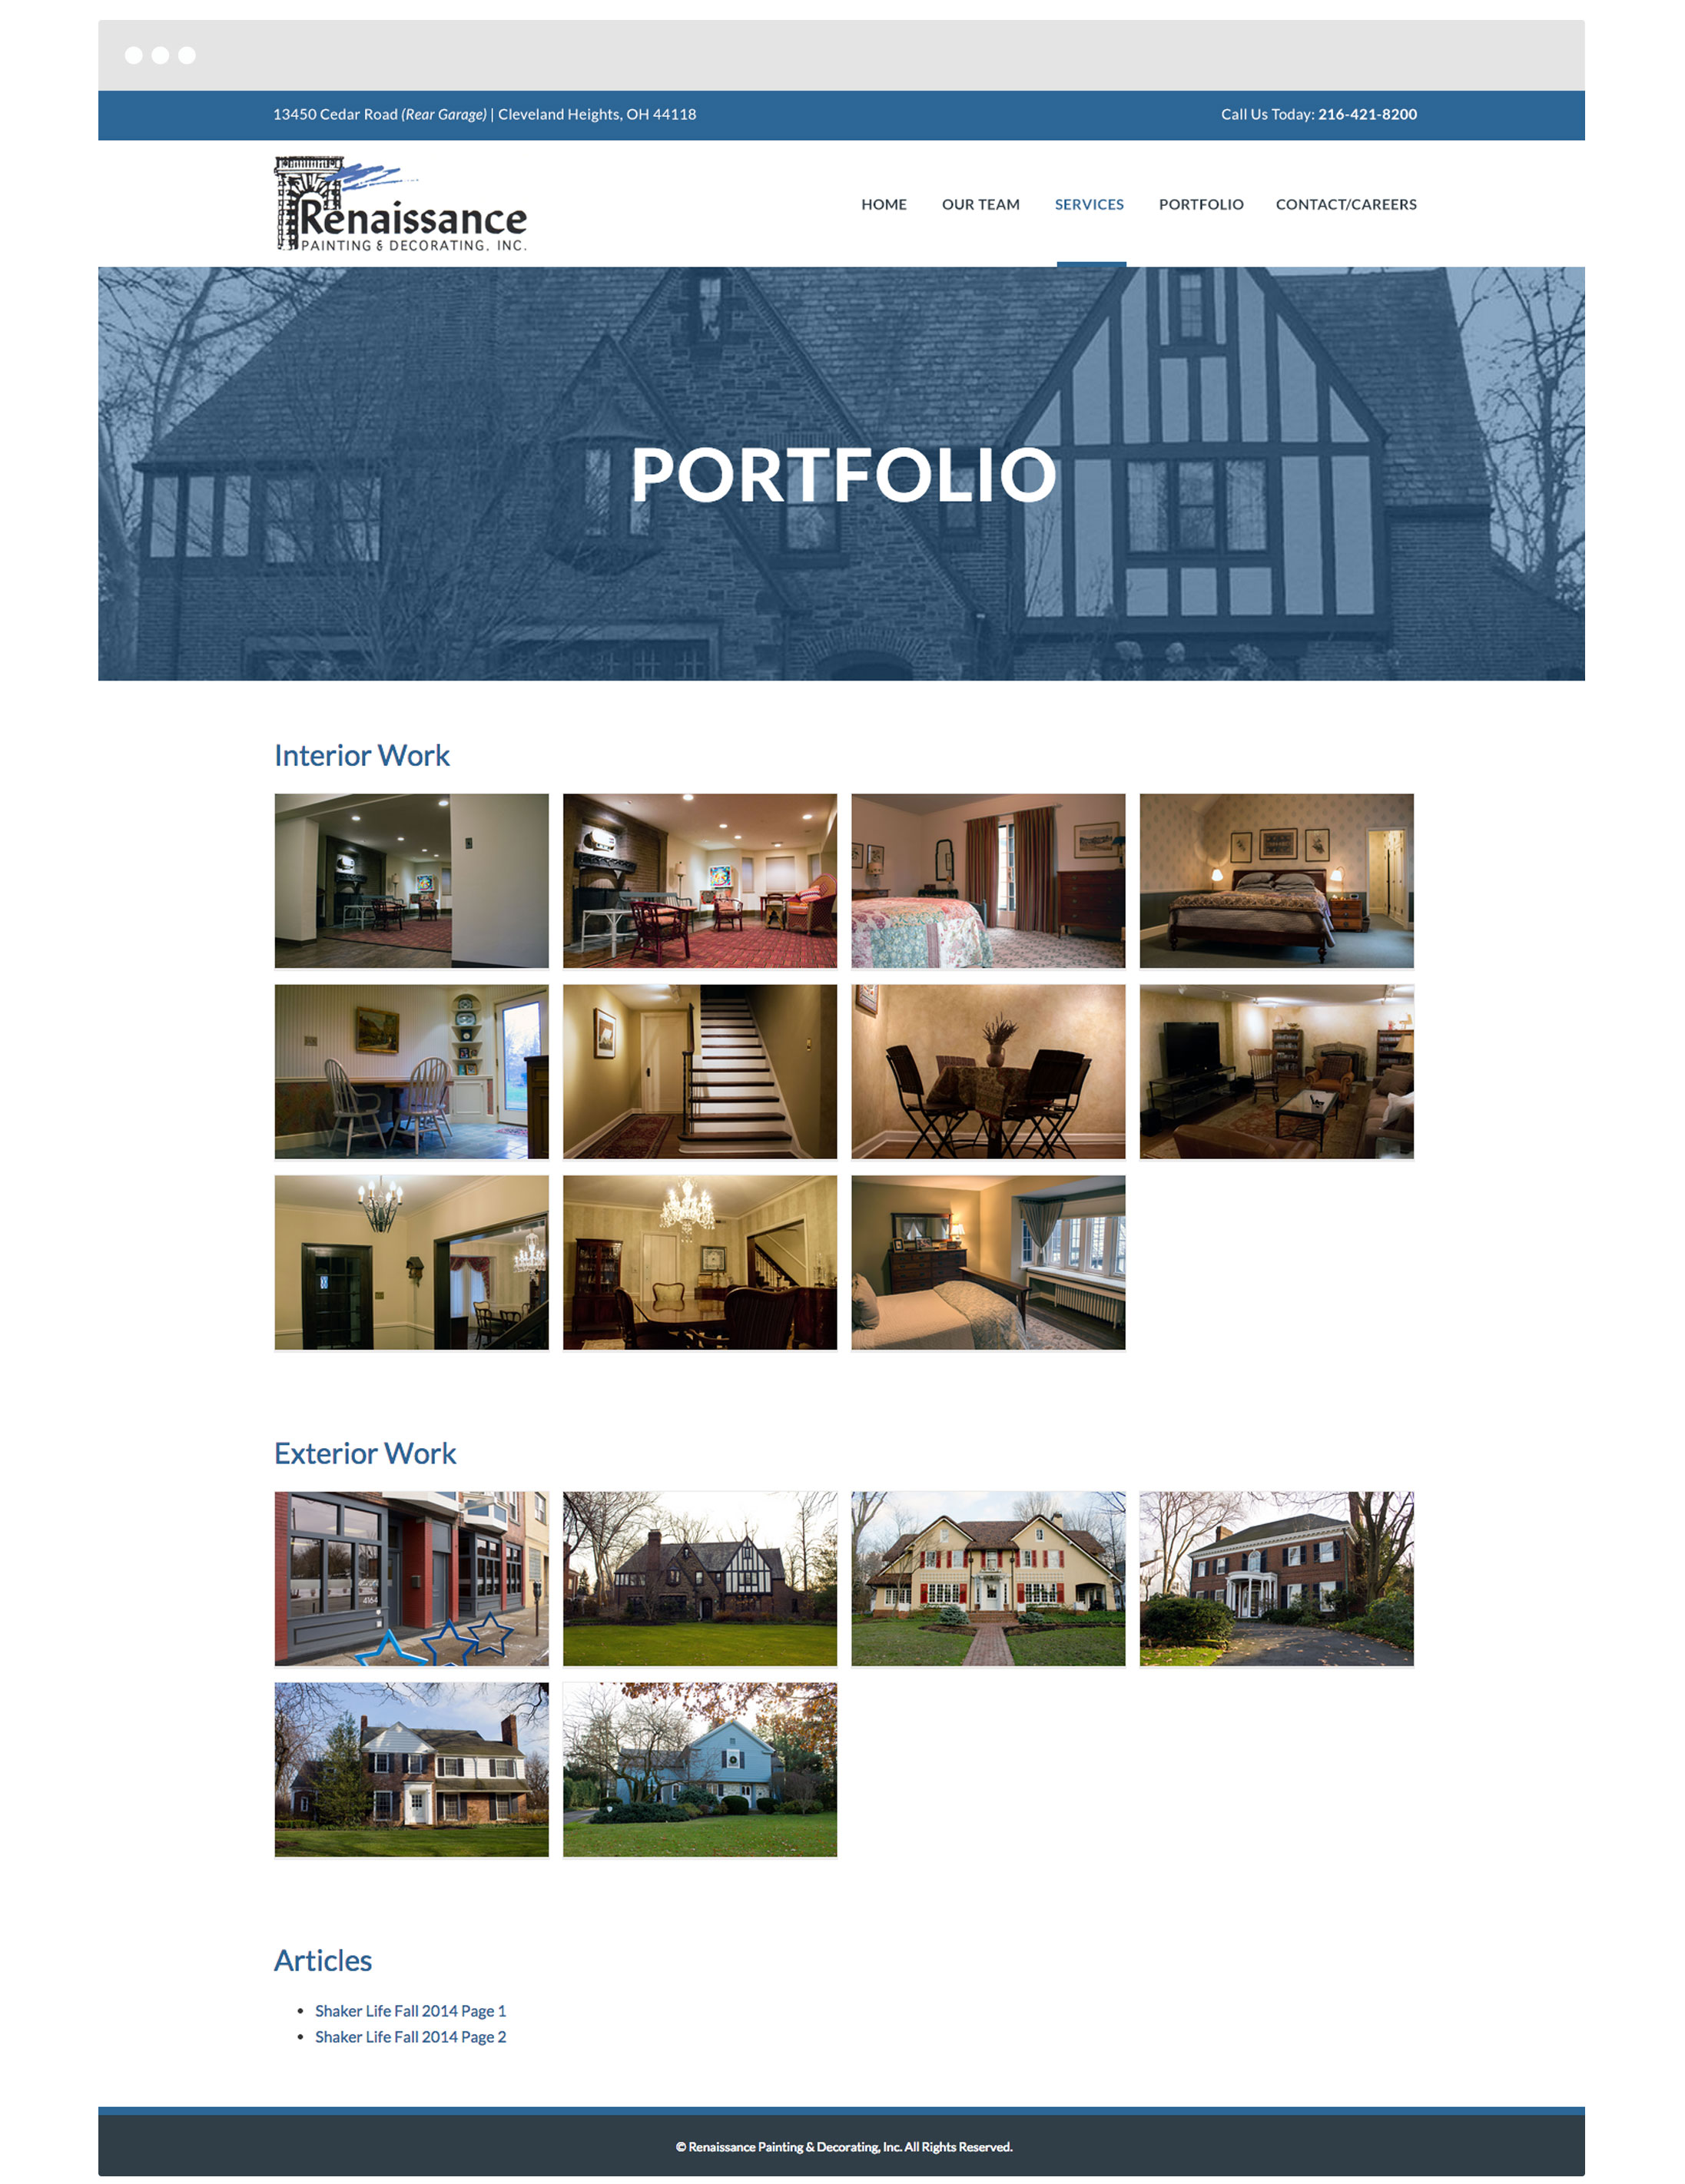
The most important part of any project is the content that needs to be designed around, so I assigned Ryan with getting me all of the necessary copy, images, articles, etc. I generally try to get the first draft of copy from the client before I begin designing, and while they’re working on that, I’ll spend some time gathering my own design inspiration and project wireframes.
Step 5: The First Draft
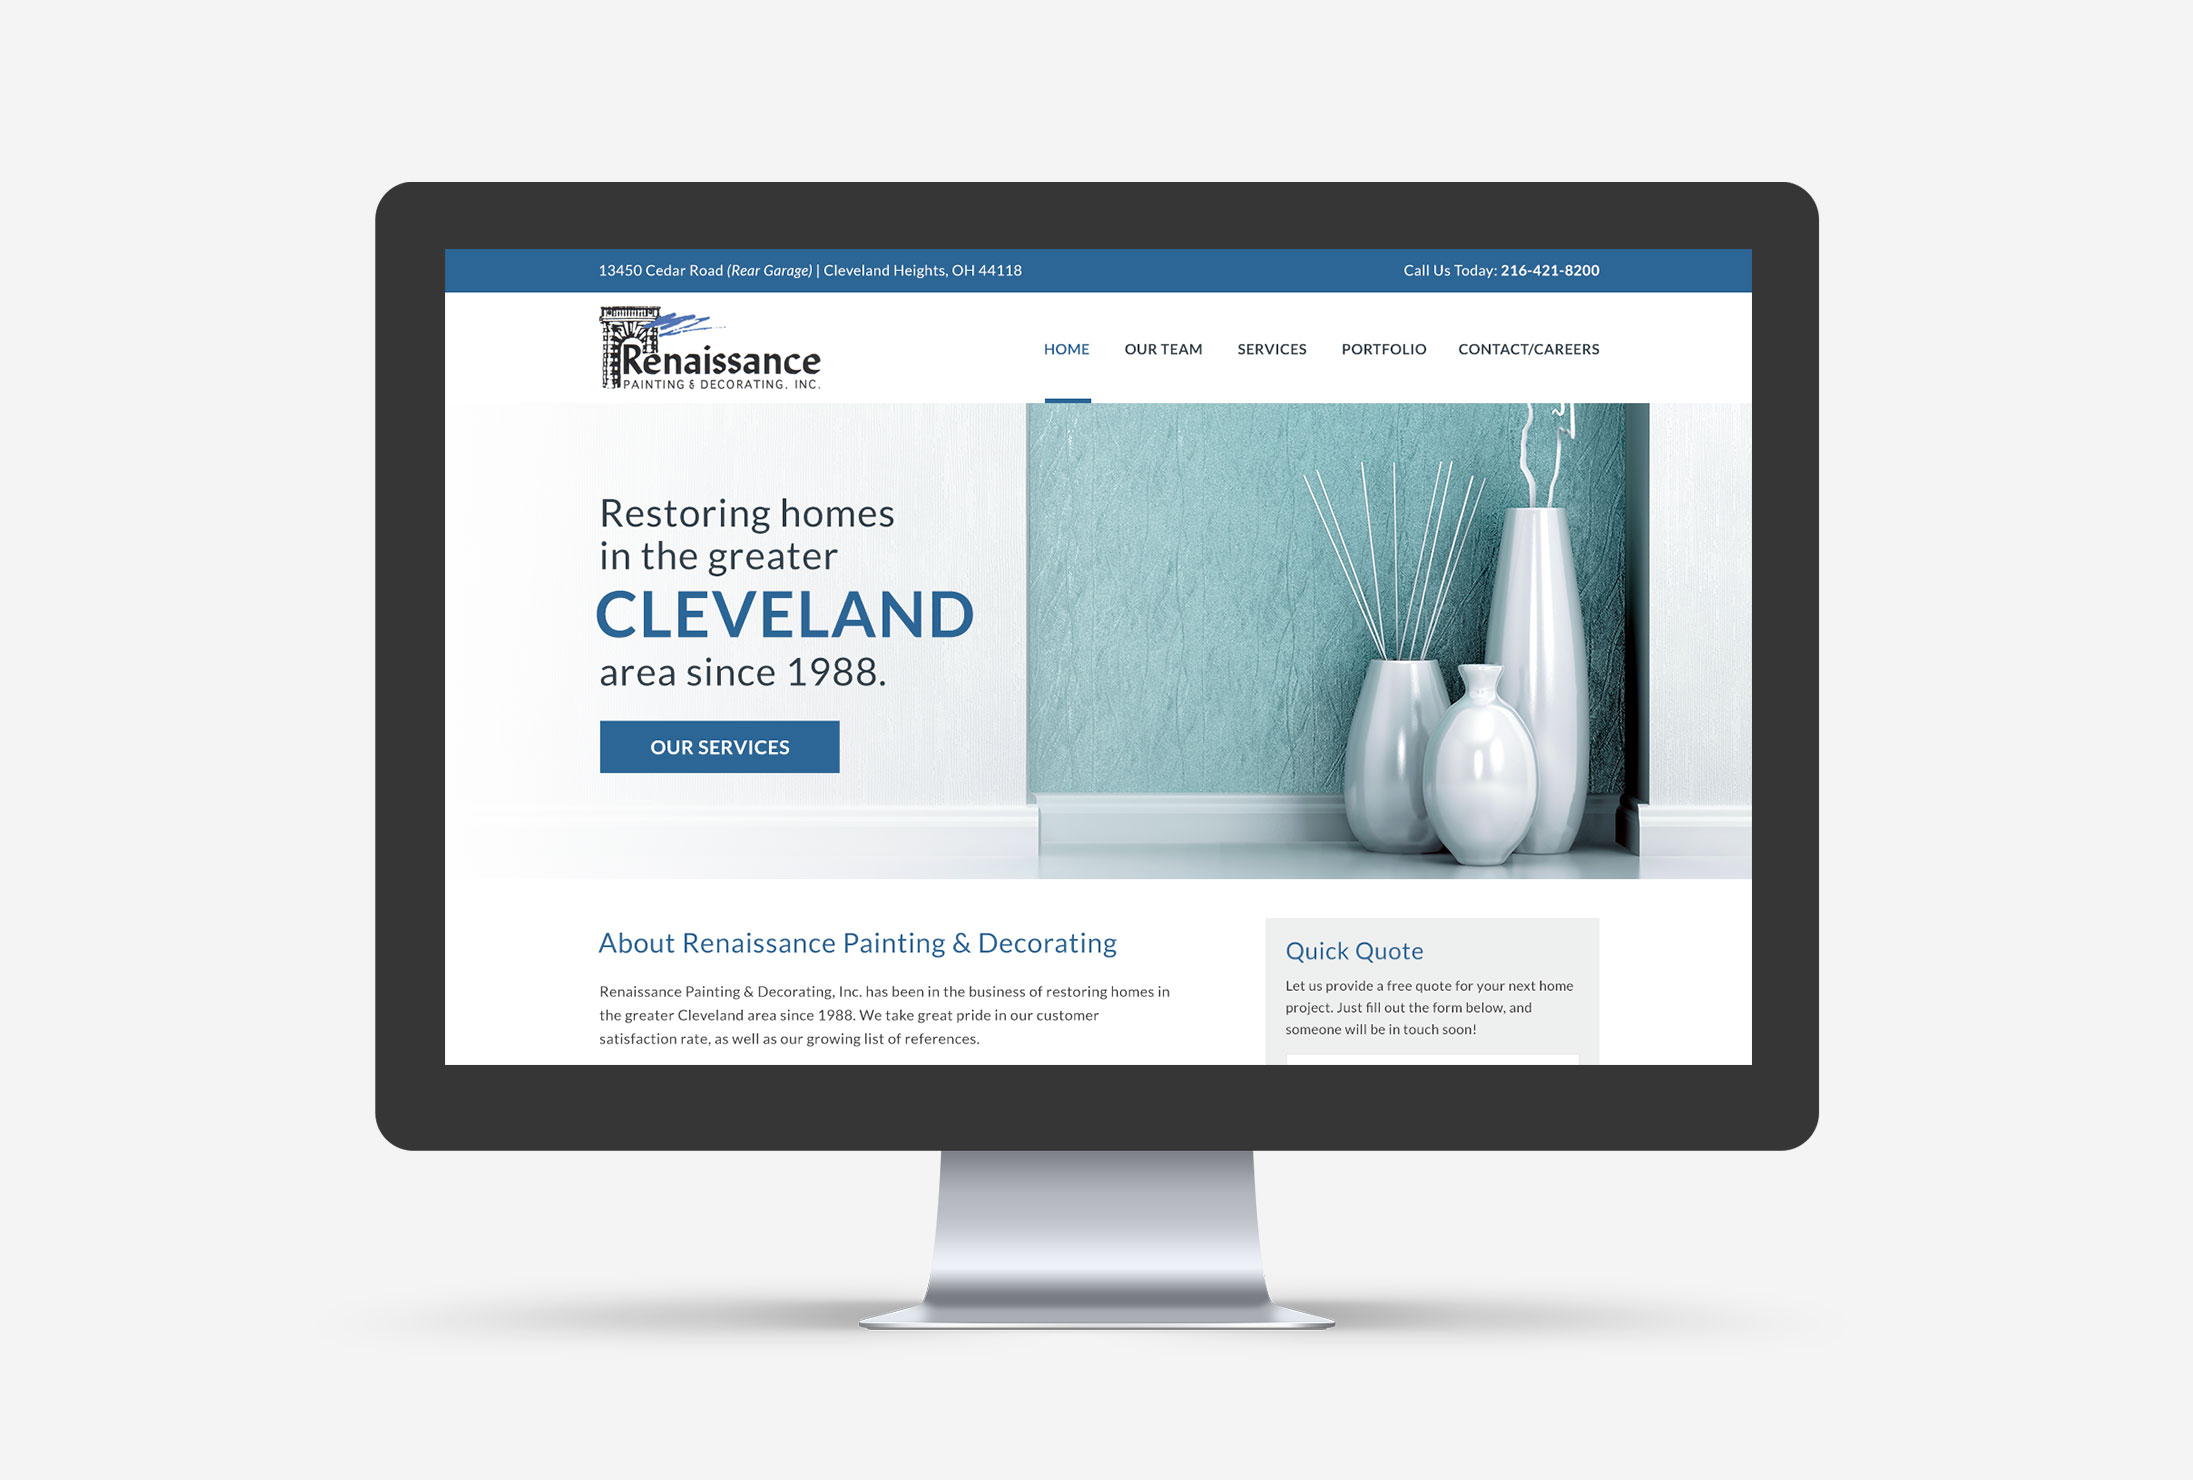
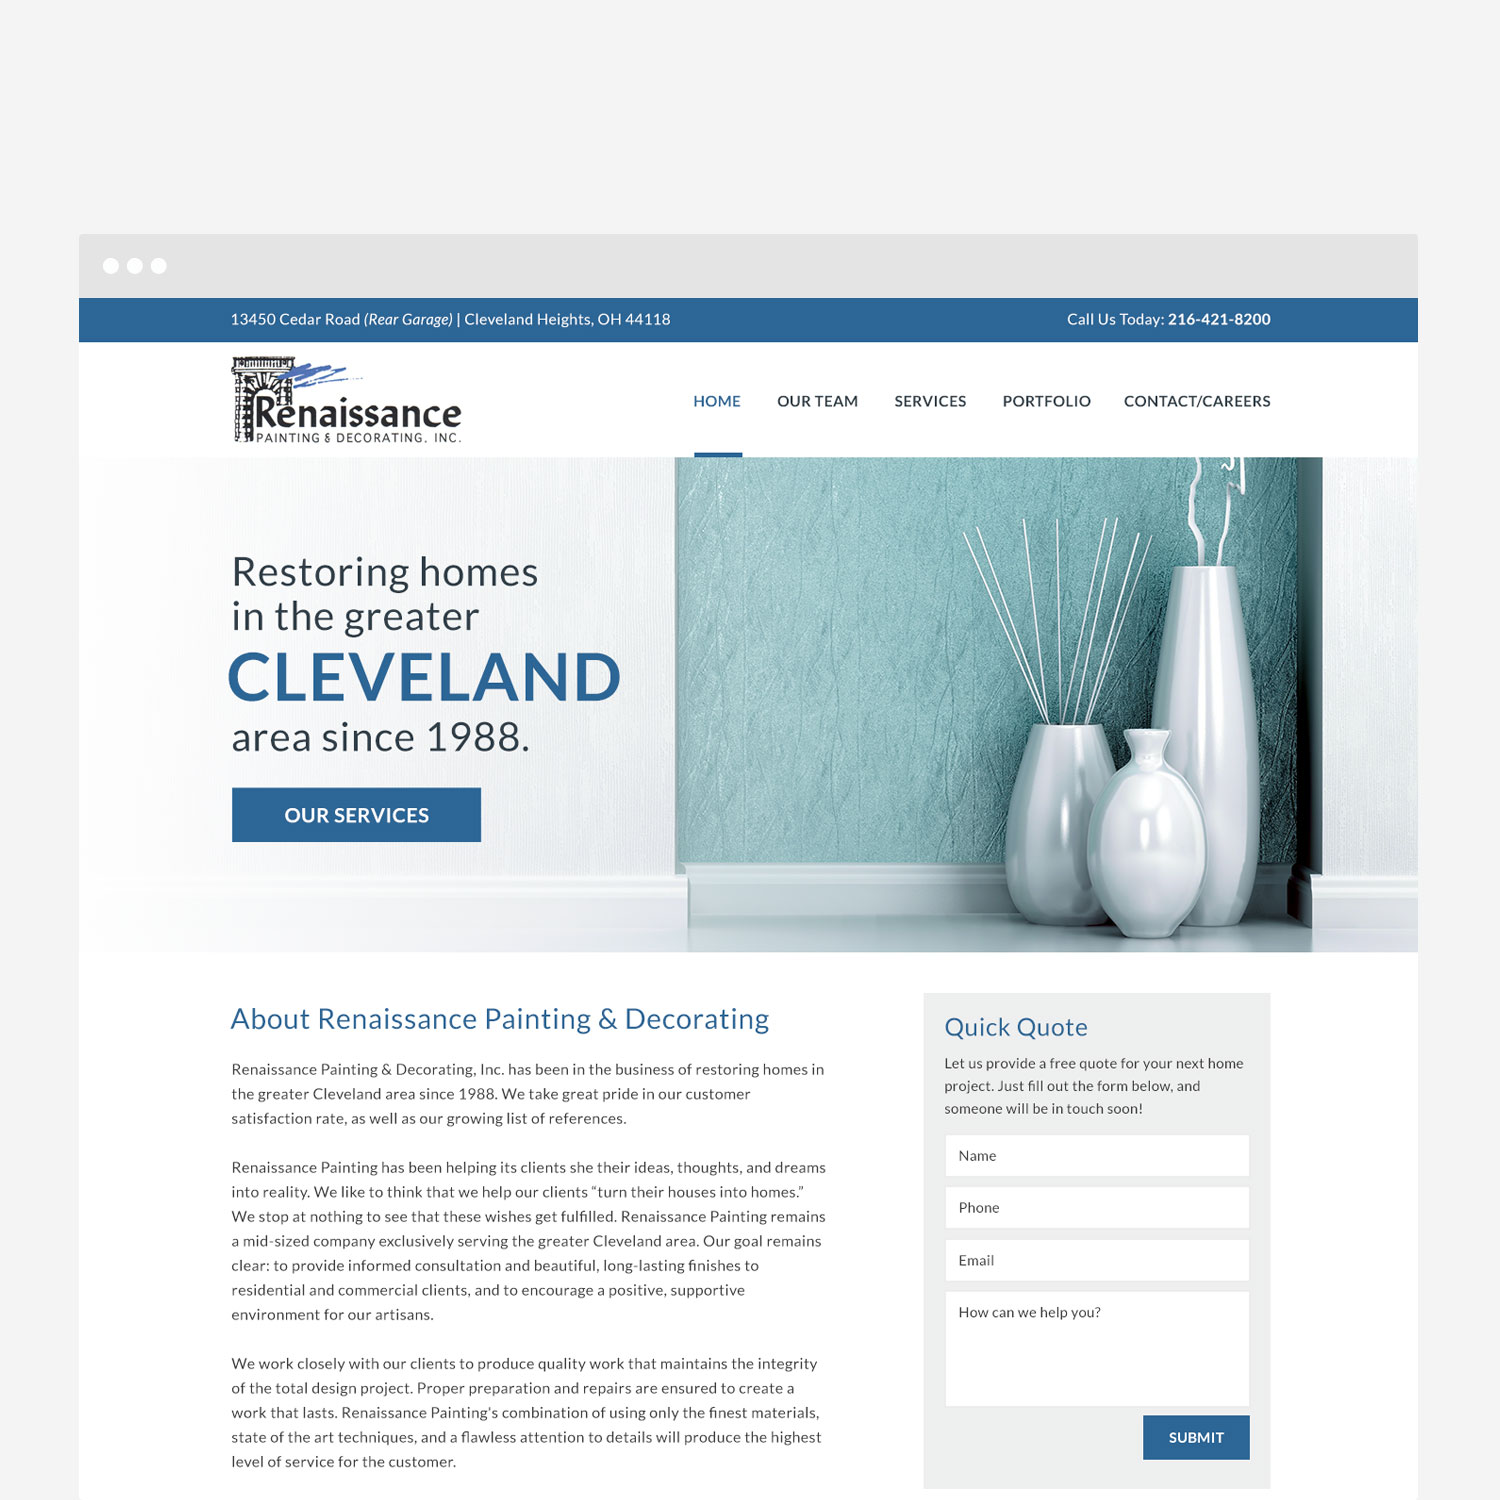
This is my favorite part of my process: the step where I can glue myself to the computer and just create. Based off of the inspiration I gathered, the website examples Ryan provided me with, and my wireframe sketches, I felt like I had a nice starting point for this particular website design.
Step 6: Revisions
After presenting the initial designs, I asked Ryan to provide me with feedback so I could make any necessary revisions. To my surprise, he had no changes and approved the designs as they were—a rare occurrence.
Once the designs were approved and signed off on, I went to work developing the site—setting up all of the pages and loading them with content, making the necessary customizations to the WordPress theme, installing necessary plugins, etc. I finished up with some cross-browser testing, and set it over for Ryan and his boss to take a peek.
Step 7: Project Launch
Ryan and I met to go over any finishing touches to the developed site, and so that I could give him and one of the other employees a rundown of how the site works—how to update the pages, add new photos, etc. The two were pleasantly surprised with how easy the WordPress back end was to use, which is always good to hear from a client new to managing a website!
Step 8: Post Launch
I removed the “Coming Soon” page from the brand new Renaissance Painting & Decorating website, and it was ready to go! I sent Ryan off with a handy little “how to update your website” manual, and remain available should he have any questions down the road.